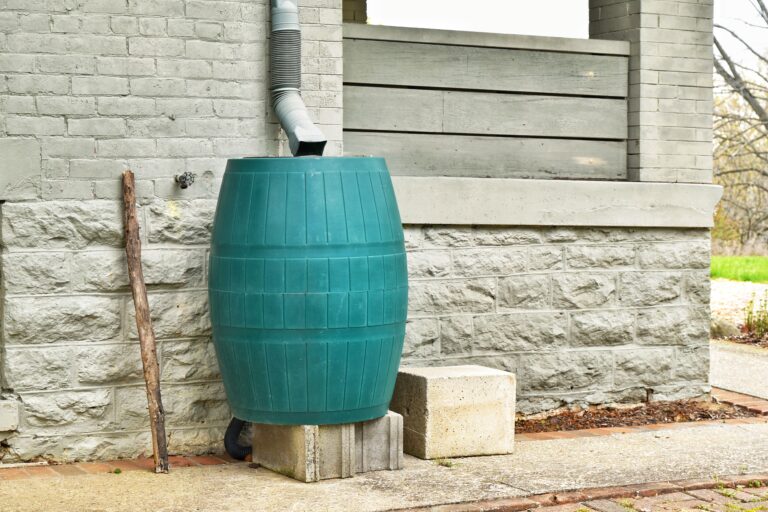
Quick answer: Put a stand on firm, level ground within about 50 cm of a downpipe. Fit the tap with PTFE tape, then sit the butt on the stand. Mark the downpipe at the height your diverter kit specifies (level with the butt’s inlet), cut out the section with a hacksaw and slot the diverter in. Finally, drill the inlet hole if needed and connect the hose. Allow an afternoon.
Fitting a water butt looks fiddly, but it’s a job most people can do in an afternoon with a few basic tools. Do it properly and it’ll fill itself every time it rains and never overflow.
This guide takes you through the whole job, step by step, with the mistakes to avoid and answers to the questions people most often ask.
Before you start: Diverter kits vary. Always check the instructions that came with yours for the exact cut lengths and hole sizes, and use those over any general measurements here.
What you’ll need
The kit
- A water butt with a lid and tap. Complete water butt kits include the stand and diverter too.
- A rain diverter kit to suit your downpipe. Most fit standard 68 mm round and 65 mm square plastic downpipes. Porches and sheds often have smaller 50 mm pipes, which need a mini diverter.
- A water butt stand, or paving slabs to build a raised base.
The tools
- Hacksaw or fine-toothed saw
- Tape measure and pencil
- Spirit level
- Drill with a hole saw (only if your butt has no ready-made inlet). Kits usually call for something around 20 to 32 mm, so check yours.
- PTFE tape for the tap thread
- A file or sandpaper to tidy cut edges
- Gloves
Step 1: Choose the right downpipe and spot
Pick a downpipe that drains a reasonable area of roof, with space beside it for the butt. Think about:
- Roof size. The bigger the roof, the faster the butt fills. Our size guide explains how much water to expect.
- Pipe material. Plastic downpipes are easy to cut. Cast iron ones are much harder to cut and need a different type of fitting, so stick to plastic if you can.
- Distance. The butt usually needs to be within about 50 cm of the pipe, as diverter hoses are short.
- Where you’ll use the water. A butt by the greenhouse or veg patch saves a lot of walking.
- Shade. A shadier spot helps keep the water cool and fresh.
Step 2: Make a firm, level base
This is the step people skip and regret. Water weighs 1 kg per litre, so a full 210 litre butt weighs more than 200 kg. A base that sinks or slopes can tip the butt over or crack the stand.
- Clear the area and level the ground.
- Lay one or two paving slabs on compacted soil or a bed of sand.
- Check them in both directions with a spirit level.
- Put the stand on top and check it’s level too.
A stand also lifts the tap high enough to slide a watering can underneath, which makes everyday use much easier.
Step 3: Fit the tap
Most butts come with the tap separate. Wrap a few turns of PTFE tape clockwise around the tap thread, then screw it into the hole near the bottom of the butt with its washer, hand tight plus a little more. Make sure the tap is closed before any rain arrives.
Step 4: Position the butt
Sit the butt on the stand next to the downpipe, with the tap facing the way you’ll approach it with a can. Check it’s level and stable. Make sure the lid can open and close fully against the wall.
Step 5: Mark the downpipe
This is the most important measurement. The diverter needs to sit level with the inlet on the butt, or very slightly above it. That’s what lets the butt fill up and then send the extra water back down the pipe once it’s full.
- Find the inlet hole near the top of the butt, or mark where you’ll drill it, usually a few centimetres below the lid.
- Transfer that height across to the downpipe with your spirit level.
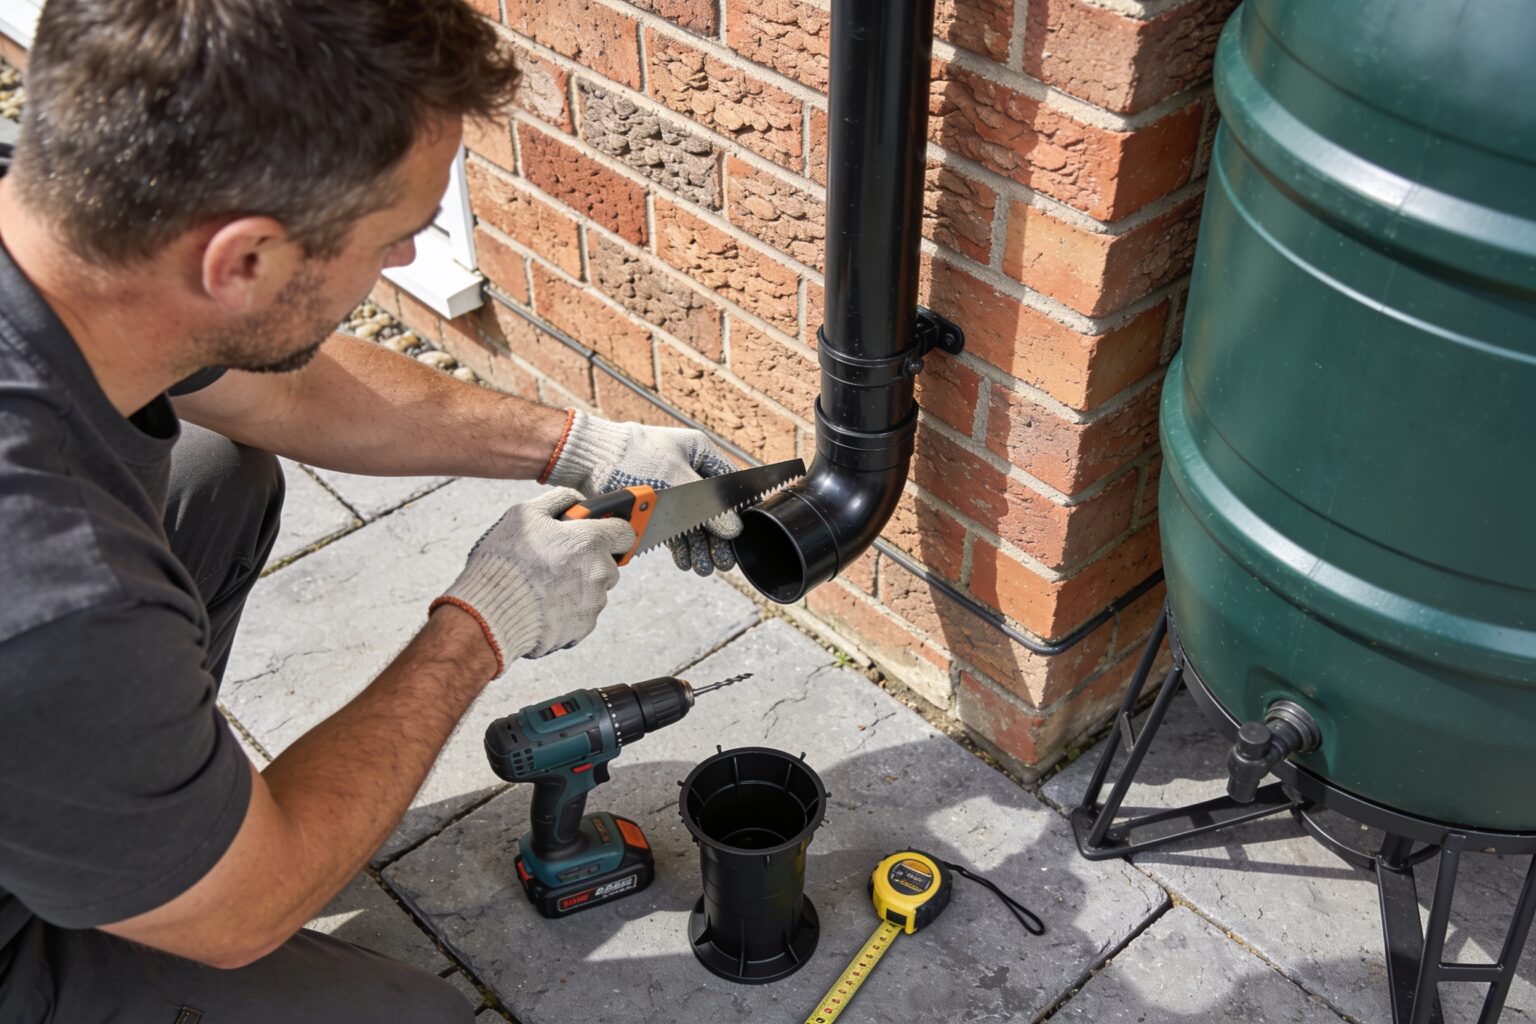
- Mark the pipe at the positions your kit’s instructions give. Most kits ask you to cut out a short section so the diverter can sit in the gap.
Step 6: Cut the downpipe
Cut straight through the pipe at your marks with a hacksaw. Keep the cut square, then file off any rough edges so the diverter seats snugly. If the pipe is fixed tightly to the wall, you may need to loosen a bracket to get the section out.
Step 7: Fit the diverter
Push the lower part of the downpipe into the bottom of the diverter, then ease the upper part into the top. Many kits include adaptor rings for round and square pipes, so use the ones that match yours. Turn the diverter so its side outlet faces the butt.
Step 8: Drill the inlet and connect the hose
If your butt has a pre-cut inlet, simply fit the connector. If not:
- Drill the hole at the height you marked, using the hole saw size in your kit’s instructions.
- Fit the connector with its seal on the inside and its nut on the outside.
- Push the hose onto the diverter outlet and the butt connector.
Keep the hose as short and straight as possible, with no dips where water could sit.
Step 9: Check the lid
Fit the lid firmly. If children or pets use the garden, choose a child-safe or locking lid. You’ll find replacements in our lids and covers section.
Step 10: Test it
Next time it rains, take a look:
- Water should run through the hose into the butt.
- Once the butt is full, water should carry on down the drain, not spill over the top.
- There should be no drips around the tap or the hose connection.
If you can’t wait for rain, run a hose into the gutter above the pipe to test the system.
Common water butt fitting mistakes
| Problem | Likely cause | Fix |
|---|---|---|
| Butt overflows from the top | Diverter fitted too high | Lower the diverter so it sits level with the inlet |
| Butt never fills properly | Diverter fitted too low, or hose kinked | Raise the diverter level with the inlet, straighten the hose |
| Water leaks round the tap | No PTFE tape or worn washer | Re-seal the thread, replace the washer |
| Butt leans or tips | Soft or uneven base | Re-lay on level paving slabs |
| Can’t fit a watering can under the tap | No stand | Add a water butt stand |
| Leaves and sludge in the butt | No filter | Use a filtered diverter and clear gutters |
Fitting a water butt to a shed or greenhouse
Sheds and greenhouses are perfect for water butts, but they don’t always have a downpipe.
- If there’s a gutter and downpipe, fit a mini diverter the same way as above.
- If there’s a gutter but no downpipe, add a short length of downpipe from the gutter outlet, then fit a diverter. Alternatively, run the gutter outlet into a lidded butt and fit an overflow so the excess runs away from the base.
- If there’s no gutter at all, a simple shed gutter kit is easy to fit and turns the whole roof into a rainwater collector.
Small roofs fill a 100 litre butt surprisingly quickly. Browse small water butts and slimline water butts for shed-friendly options.
Taking it further
Once your first butt is running, you might want to:
- Add more storage. See how to link water butts together.
- Use a hose. A water butt pump gives you proper pressure.
- Keep the water fresh. Read how to keep water butt water clean.
Water butt fitting FAQs
How far from the downpipe can a water butt be?
Usually no more than about 50 cm, because diverter hoses are short. Some kits include a longer hose, and you can buy extension hoses, but keep the run as short and level as you can.
Do I need to cut the downpipe to fit a water butt?
With most diverters, yes. You cut out a short section of pipe so the diverter can fit in the gap. A few clip-on or collector designs need only a hole in the pipe, so check your kit.
What size hole saw do I need for a water butt?
It depends on the diverter kit. Many use a hole of roughly 20 to 32 mm, but always check your kit’s instructions before drilling.
Can I fit a water butt to a cast iron downpipe?
It’s possible, but harder. Cast iron is tough to cut and standard plastic diverters may not fit. Many people replace the lower section with plastic, or use a diverter designed for cast iron.
Do I need planning permission for a water butt?
No. Fitting a water butt to your own home doesn’t need planning permission. If you rent, check with your landlord before cutting the downpipe.
Should the water butt tap be at the bottom?
Yes, near the bottom, so you can use as much of the water as possible. Raise the butt on a stand so a watering can fits underneath.